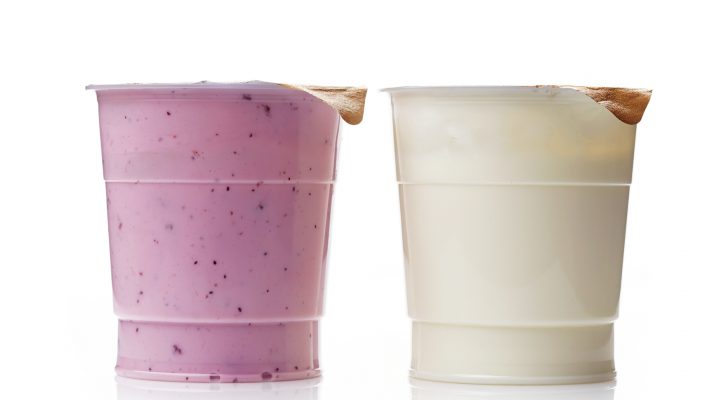
Did you have a yogurt lately? Chances are you got the yogurt cup from your fridge, which is good really, because that’s were it should be stored. Did you know that a fridge and a yogurt cup have more in common than their food and food storage relationship? They share a manufacturing process known as thermoforming!
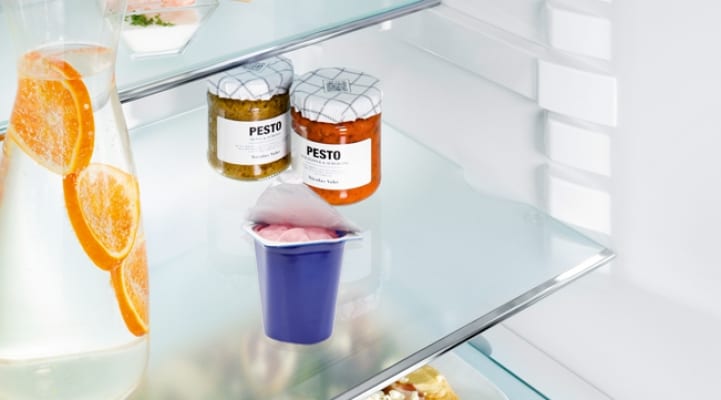
What is thermoforming?
Thermoforming is a special process for forming plastics. A polystyrene sheet is heated and is going through various steps to be shaped into a particular form. In the manufacture of refrigerators, for example, the inner container is made this way. For yogurt, the cup is made in the same way.
What steps does thermoforming involve?

1. Create and insert the sheet
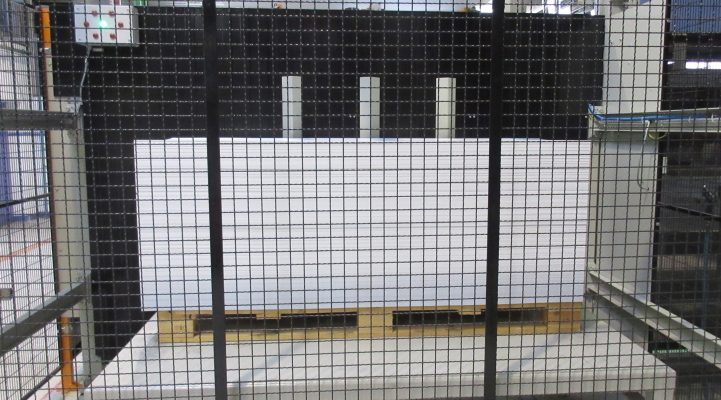
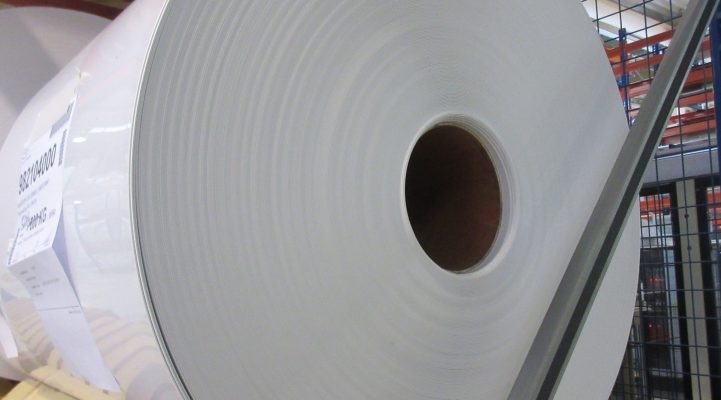
Liebherr Appliances employs heavy-gauge thermoforming. A polystyrene sheet is made in house. We add color components, known as the masterbatch, and recycled material in an extruder. Living up to Liebherr’s ActiveGreen promise, this ensuresas a sustainable use of resources.
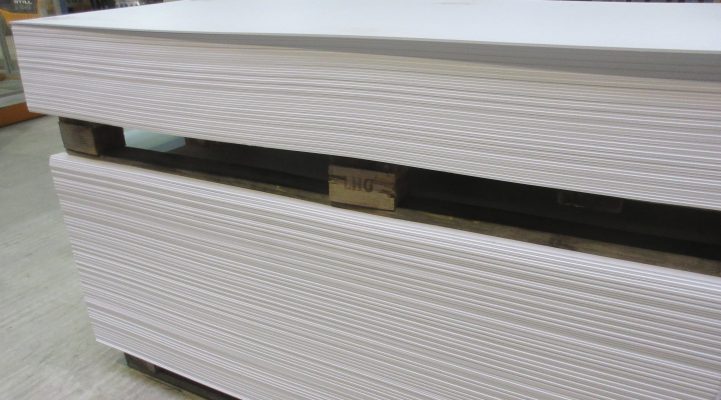
The granules are melted in a screw and then brought under pressure in a nozzle in the desired shape. Subsequently, the strand material is rolled and cut to the appropriate dimensions. The sheet then has to cool down. It takes about three days before we can move to the next step.
2. Preheating The Sheet
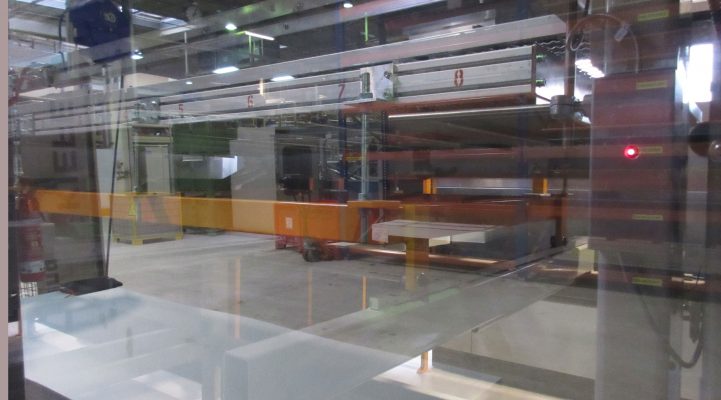
The sheet is preheated to around 212°F / 100°C.
3. Increasing the temperature by 195°F (90°C)
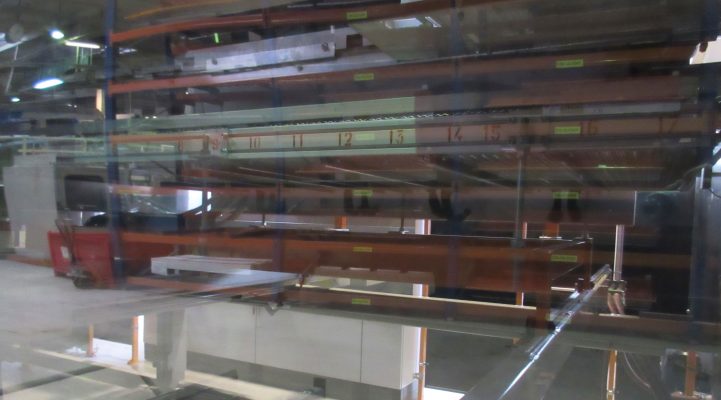
The sheet is heated by a further 195°F / 90°C, bringing it to 375°F / 190°C. At this temperature, the material is softer and it can be processed easier.
4. Form Process
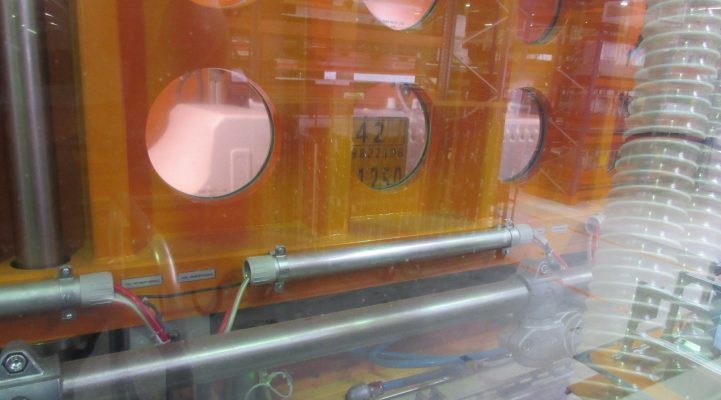
In the forming station the board, now heated to 375°F / 190°C, is given its final shape. A vacuum is created to obtain a kind of “balloon”. This allows the material to be brought into its later form. While the balloon is forming a mating mold, the “negative” of the shape, is brought under it. After the balloon has settled over the mold, negative pressure to the sheet is created via air channels. The higher atmospheric pressure causes the soft plastic to attach to the mold. The mixture of the heat given off by the sheet and the air, the material gets its solid state. Now, the inner container is separated from the mold, it now has the detailed shape of the mating mold
5. Trimming
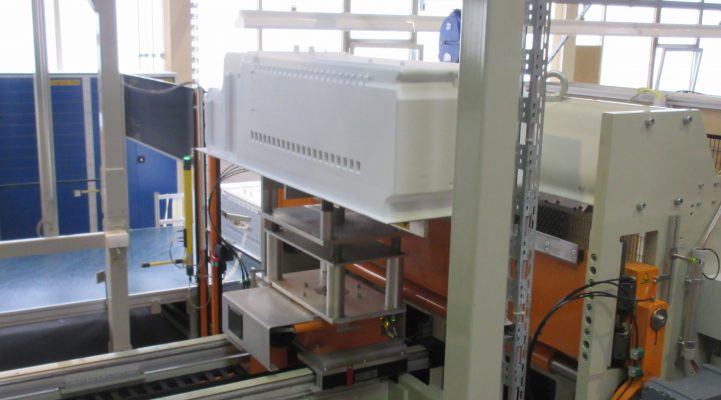
The inner container is trimmed mechanically on all four sides and made to fit perfectly in the refrigerator. During this process, sharp edges are cut off to ensure a smooth transition between the container and the lining of the refrigerator.
6. Visual inspection
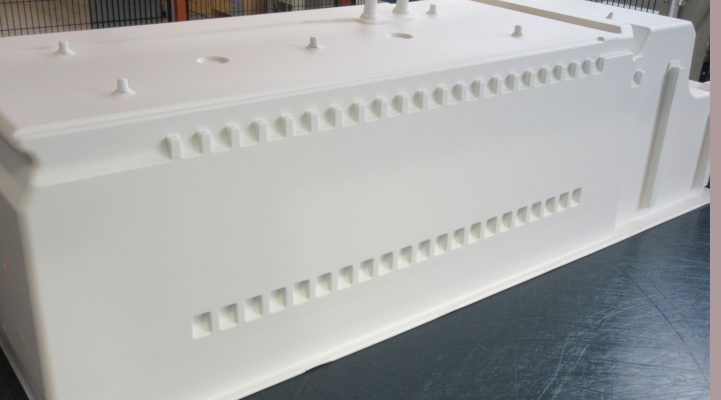
The final step is a visual inspection of the drawer. Once it passes this step, it is ready to make its way to you as part of your new fridge!
Meanwhile, somewhere else a little sheet of plastic has gone through the same process to turn it into a cup!
