Mmm, freshly baked bread. Nothing beats that smell does it? When you walk into a bakery, or past the freshly baked bread section of your local supermarket, you immediately want to buy a loaf or at least sample some of it.
Maybe you’ve thought that you’d like to give it a go yourself, but think you’ll need an expensive breadmaker? Perhaps you know friends or family that have given it a try and their bread has ended up tasteless, flat, too hard or misshapen?
Simple steps to make fresh bread by hand
Worry not, as there are some simple steps you can take to make a gorgeous large loaf (750g) of bread from scratch without the need for any specialist equipment. As you probably already know from experience, fresh bread is best eaten on the same day it is made. There are a huge amount of recipes and various methods out there for making bread. This one is quick and simple, requiring only 1 prove (where the bread rises).
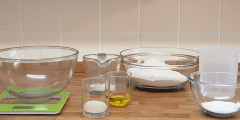
Ingredients for a large loaf: 500g strong white flour, 2 tablespoons of milk powder, 1 tablespoon caster sugar, 1 teaspoon salt, 2 ½ teaspoons fast-action dried yeast, 2 tablespoons olive oil, 300ml warm/tepid water.
Remember, frozen fresh bread keeps for several weeks. Make sure you slice it before you put it in your freezer. Find out more about storing fresh bread in our related article.

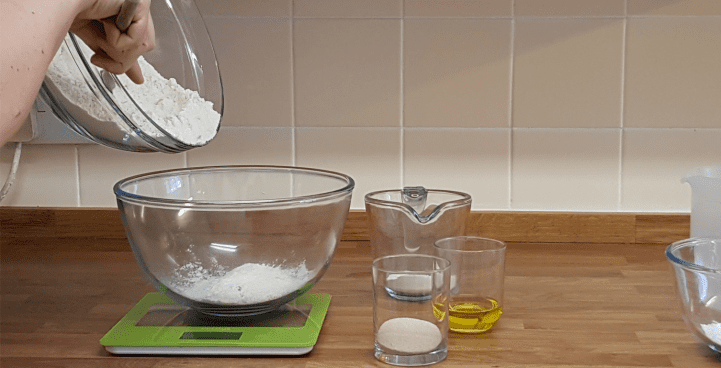
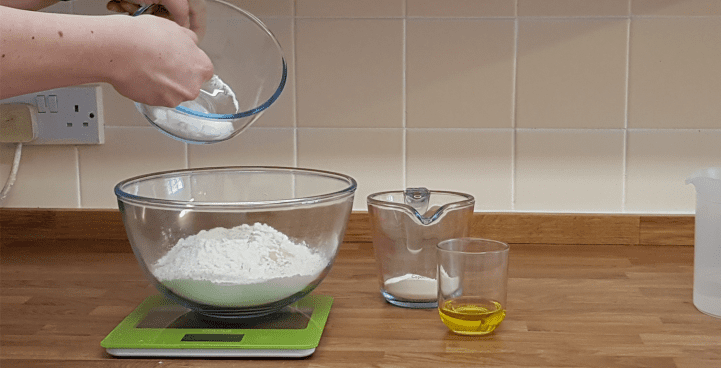


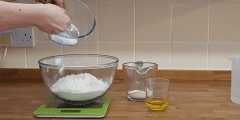

Step 1 – Add the dry ingredients
Add the flour, yeast, sugar, salt, and milk powder in a large bowl.
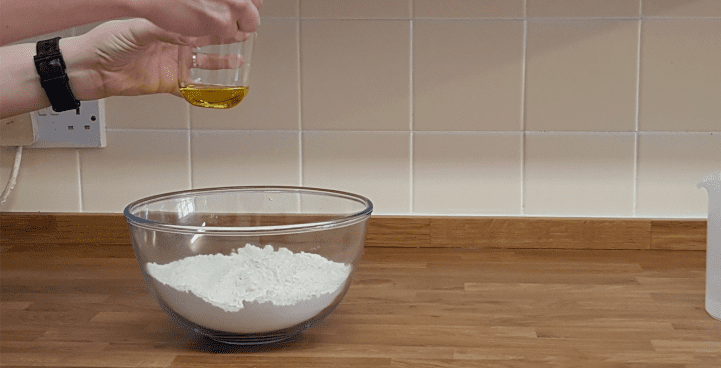
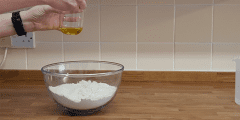
Step 2 – Add the oil
Add sunflower oil into the mix.
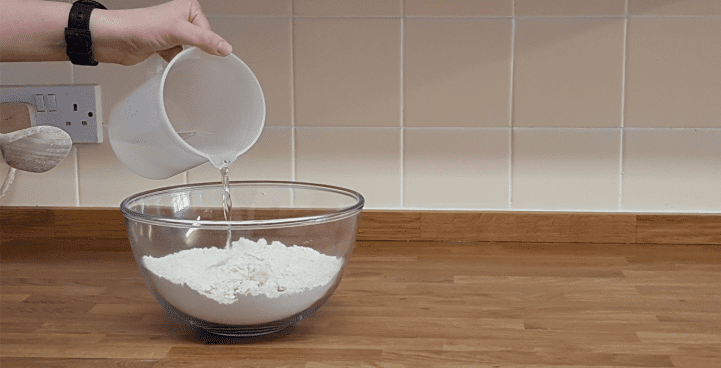
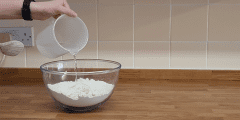
Step 3 – Add water
Slowly add enough warm water to make the dough. Keep mixing the dough and adding more water until you have used it all.
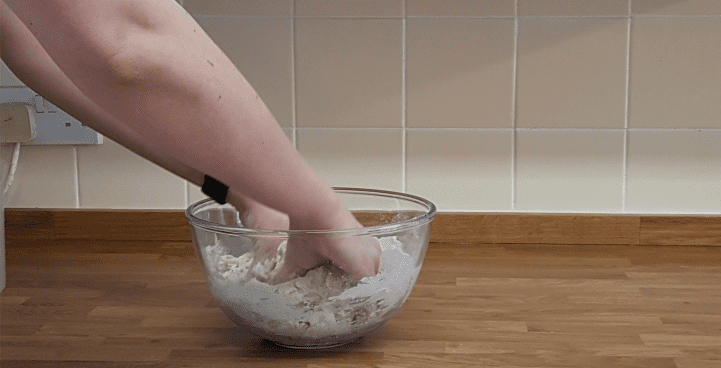
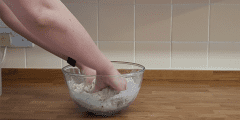
Step 4 – Mix the Ingredients
Mix all of the ingredients together to form the dough.
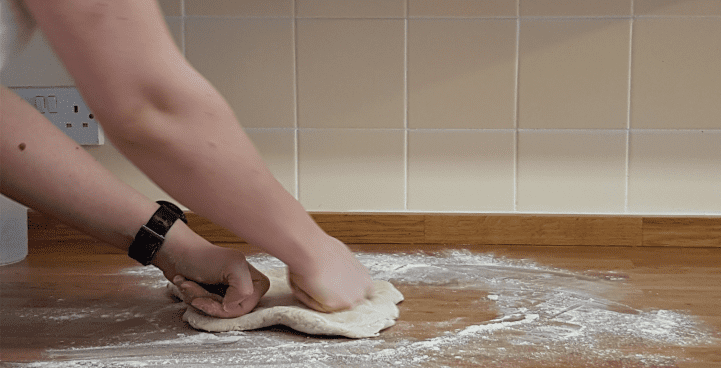
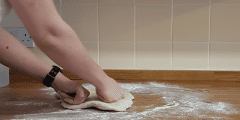
Step 5 – Knead on a floured surface
Sprinkle flour down onto a clean and dry work surface beside the bowl and place the dough on it. Knead the dough for 7-10 minutes, rolling it out and folding it over with your hands several times until it becomes smooth and elastic. Put some flour on your hands if the dough begins to stick to them.
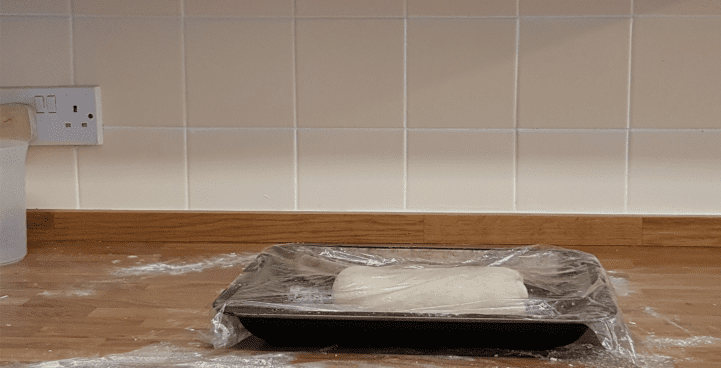
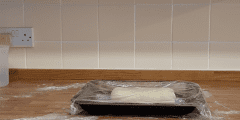
Step 6 – Leave to prove
Place the dough onto a baking tray dusted with some flour and cover with oiled clingfilm. Leave to prove (rise) for around an hour. This is when the fast-action yeast works its magic! The dough should double in size.
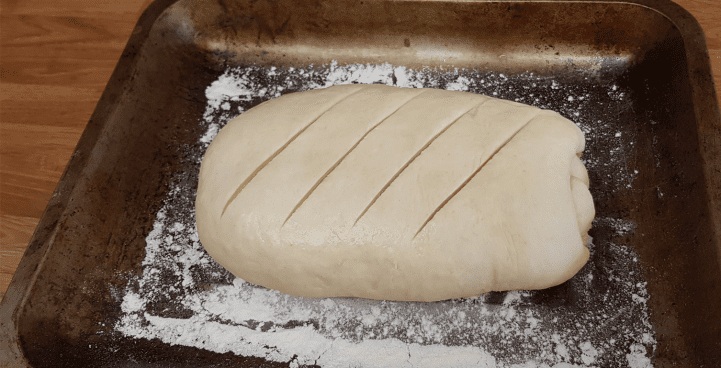
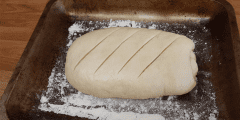
Step 7 – Finishing touches
Once your dough is finally ready to bake you can add some finishing touches like making slashes in your loaf like a professional. You can also experiment with glazing the top with milk for a nice soft crust, salty water for a crisp crust, and honey or syrup for a sticky and sweet crust.
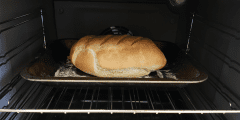
Step 8 – Bake the bread
Remove the clingfilm and place in a preheated oven at 200°c, Gas Mark 6, for approximately half an hour or until the loaf has turned a lovely golden brown colour.
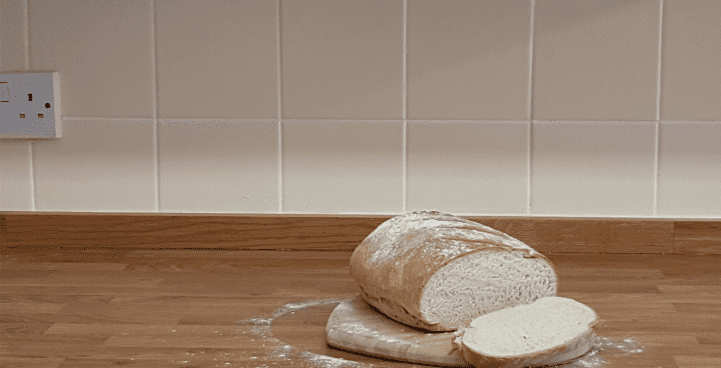
Step 9 – Check it is done and enjoy
When it is fully baked, carefully remove the bread from the tray and place the loaf onto a wire rack to cool down. You may need to use a long bread or pallet knife to loosen the bread before removing it.
You’ll know when the loaf is ready by the tried and tested method of tapping the bottom of it with your fingertips. If it sounds hollow, it is done, otherwise put it back in to bake for longer.
So there you are, give our simple step by step guide to making a fresh white loaf of bread a go. Let us know if you have discovered any shortcuts or have any alternative ideas in the comments section below or on social media.


